Thursday, July 25, 2013

An Edwardian Parasol and Thoughts on Visual Cohesion

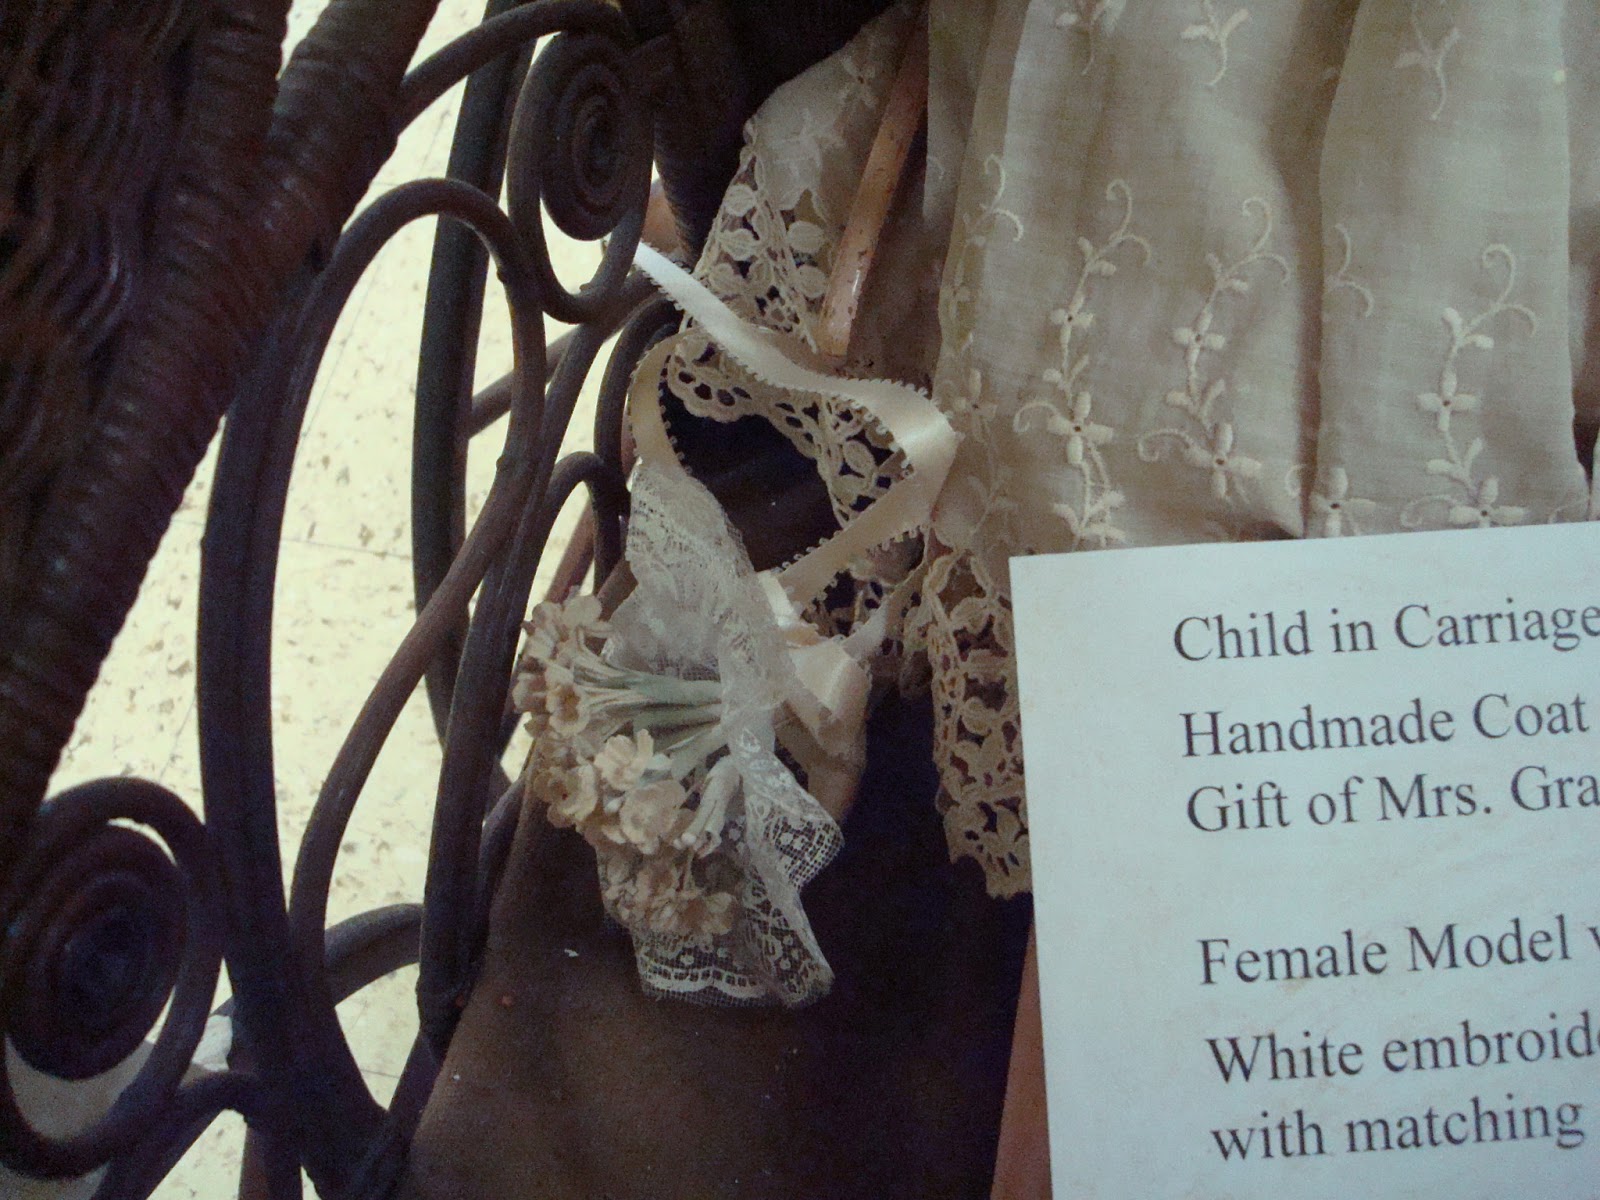
Crocheted flowers partly obscured by a yellow paperclip holding the broken parasol together.
This antique parasol, discreetly propped against the arm of a wicker dress form wearing a fragile 1906 silk and lace wedding gown, is quite unassuming in the swaths of ecru silk surrounding it. The parasol isn't mentioned in any descriptive placards, so I had to do my best Nancy-Drew impression and become a parasol detective!


The parasol isn't made of silk; more like a sturdy but elegant cotton. It is ecru colored, but it might've once been brilliantly white. Crocheted flowers decorate the parasol. There are no carved ivory or bone handles here--just a plain, straight, thin handle made of wood, and a broken interior metal structure.  I've been told by Cassidy that this parasol is in fact Edwardian, as I had guessed--she believes it might range from 1900 to 1929.

The interior metal structure has broken, and to fix this, someone has fastened the parasol with what appears to be a bent-out yellow paperclip...


Not only is this terribly unattractive and anachronistic, it is part of why the fashion exhibit looks like such an afterthought. It's not that anyone who sees the exhibit will be emotionally scarred because an antique parasol was held together with a bent-out paperclip, it's the mix of anachronism and distastefulness that together creates a negative display... The bent paperclip holding shut a parasol, the "sinfully hideous" shoes on the 1910's Graduation Dress display, or the ugly and cheap blue necklace on the 1905-09 hyacinth wool suit,...these all contribute to a generally negative and sloppy impression to the viewer. These betrayers of visual harmony negatively affect the experience of a museum goer, and that is counterintuitive to the premise of a local museum. There must be a sort of visual cohesion even in an environment, such as the Kearny History Museum, where total historical accuracy isn't necessary.

If you're going to accessorize with a historically inaccurate necklace, at least use an attractive one.

I couldn't repair the parasol, as that is out of both my skill level and comfort zone, but I could soften and beautify its appearance. I found some ivory wired ribbon (the same that was used on the bouquet of the 1926 wedding dress) and decided that even if it wasn't historically accurate, at least it was a prettier treatment than a bent up paperclip, and still helped to convey the femininity and frivolity of these fashions.

An elegantly styled ribbon bow!
I couldn't help myself--I added a little bow to the handle as well. What do you think of it? Is it too much?
EDIT: Cheyenne helpfully offered this photo of a parasol that not only has a similar handle shape (though more embellished) but also has the handle decorated with a fine bow!

Saturday, July 20, 2013

Cleaning Up an 1850's Wicker Baby Carriage

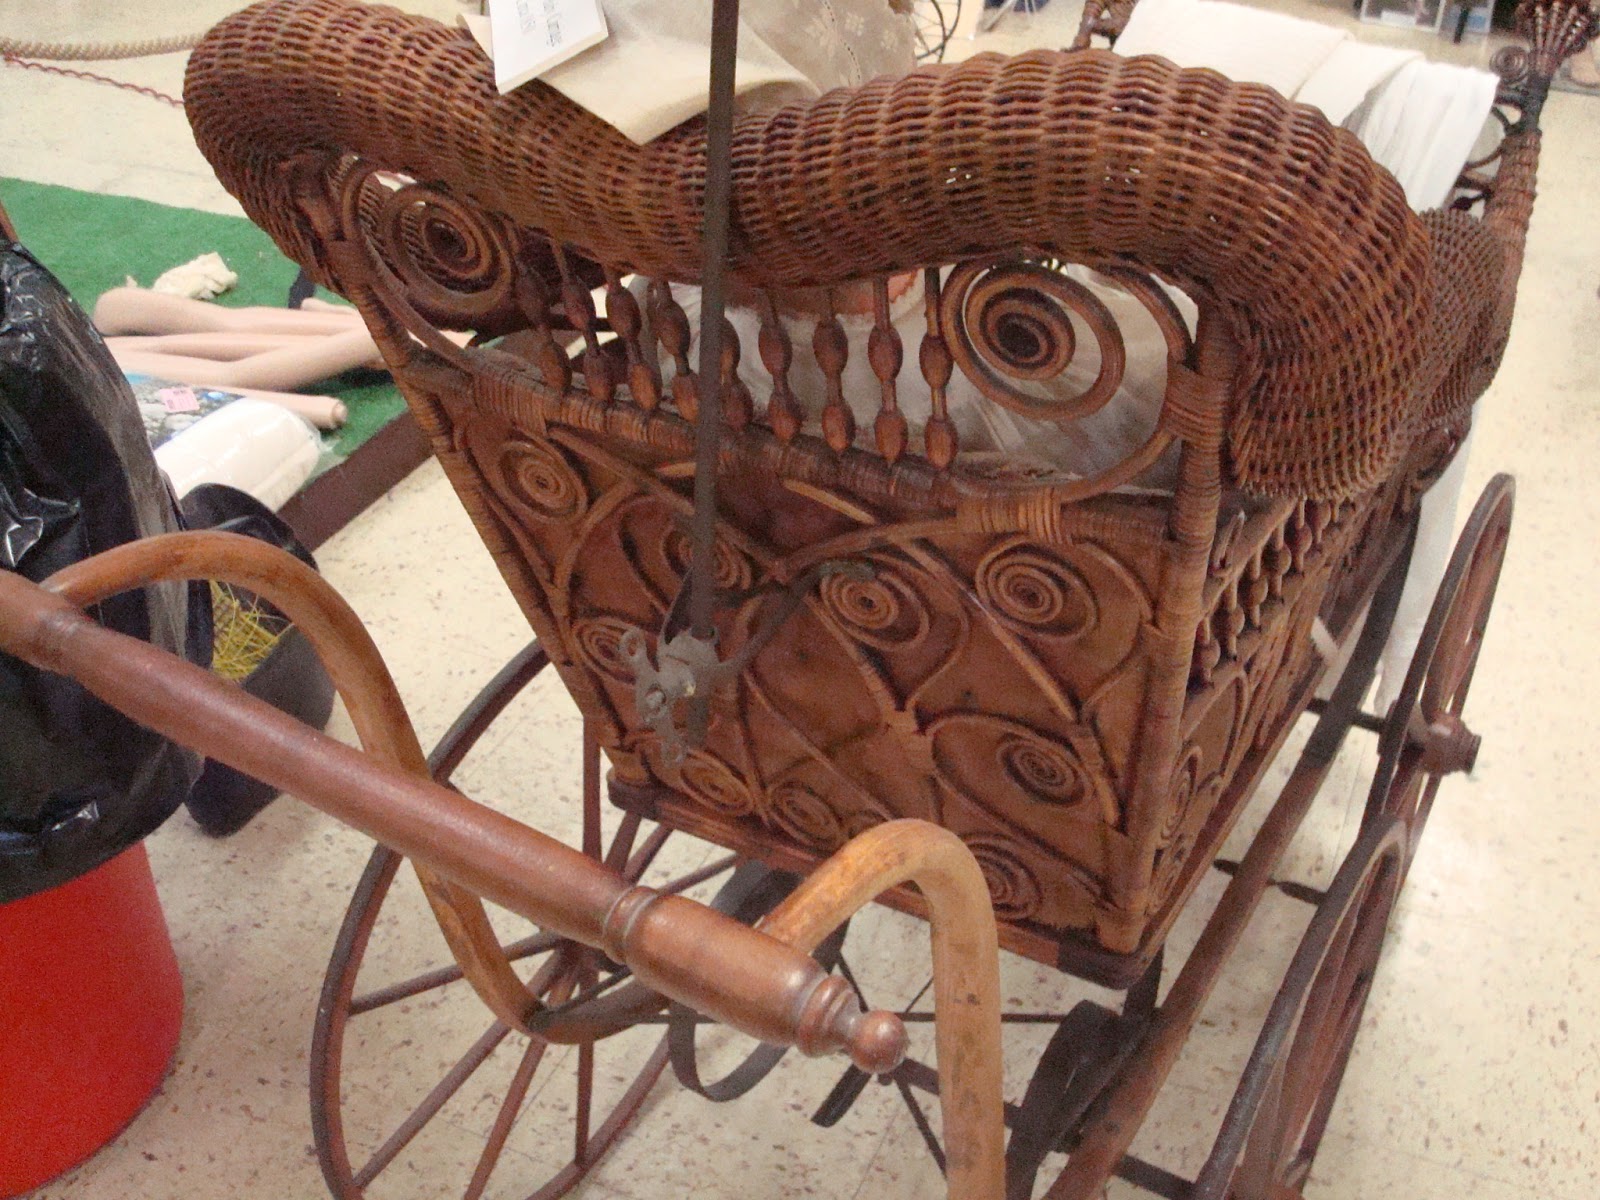
"Wicker Baby Carriage circa 1850"
Though this really wasn't a garment in dire need of attention, I decided to devote an afternoon to cleaning up this antique wicker baby carriage. The carriage was so cluttered that the beautiful wicker scrolls and the elegant design was lost. The carriage contained a rather scary and terribly grimy baby doll wearing an equally filthy baby outfit, two Christening gowns draped over the front of the carriage, a small wax floral bouquet, and an interesting period illustration that should've received more attention in the display.

Uhhh...yeah...well at least this is a nice photo of all the dust on the upholstery and wicker!
Electrical tape tied around the toes, on both feet...I think I've been working at the museum so long that stuff like this doesn't phase me anymore.
I believe that this carriage is a little later than 1850, maybe from 1860 onwards...
This beautiful illustration was barely visible among the contents of the carriage! This magazine clipping is from 1907. I'm surprised how most of the paraders are men, in a comparatively feminine subject area.
The two Christening gowns after I laid them out on an acid-free tissue paper-covered table, awaiting a nice cleaning to freshen them up. I'm still unsure as to how I'll properly display these.
The carriage is surprisingly sturdy, and when you move it, the bed has a bit of "bounce"--perfect for lulling a baby to sleep. There is even a brake mechanism, and a dotted net lace parasol suspended over the bed. The bed is made of corduroy, now brown, but probably once a lighter color; after I vacuumed the cushions, the area that had been covered by the baby doll seemed brighter and almost mustard-colored.

The wicker has been formed into graceful curlicues and spirals, and looks unusually intricate and detailed compared to similar carriages I found online. Whoever owned this beauty was really from the upper cusp of society, and I'm certain that they participated in frivolous promenades, just like the Newark Baby Carriage Parade!


To clean the dust off of the wicker and the upholstery, I utilized my usual method of securing a rag over a vacuum nozzle. You could not believe how much dust I sucked up! I actually ran out of clean rag and had to use some paper towels--but it worked! The wicker curlicues can really shine now, and the almost mustard upholstery, really a great improvement. So far I haven't put anything back into the carriage, as I'm waiting on a new "baby" mannequin and I have several little baby garments to launder and freshen up.


Tuesday, July 16, 2013

A 1910's Petticoat for a 1910's White Lawn Dress

I made a muslin petticoat for the 1910's Lawn Graduation Dress. The petticoat not only helps to hold out the shape of the dress, but will also help to keep the dress from brushing up against the dirty floor.

I chose unbleached muslin because it was cheap, natural, and suggested as a material for use in museum displays. Muslin would have also been a period appropriate material--maybe not to make a petticoat with, due to its rather coarse texture, but it is serviceable for display purposes. 

I didn't want to spend any more of my budget money on patterns, but then I remembered that I had Simplicity 4078, thoughtfully gifted to me by a friend a few years ago. The pattern's pieces for the skirt are the same as for the petticoat. 
 
 
See that little ruffled petticoat on the bottom left? I used the front and side-front pattern pieces.
I omitted the ruffle on the petticoat, as the "Graduation Dress" is pretty slim--a much later silhouette than these full skirts. The back panel of the skirt/petticoat was HUGE--just one back panel was almost half of the waist measure. The two back panels are meant to be gathered, but I didn't want all that fabric bulking up the silhouette, so I just omitted the back panels completely. To compensate, I just cut two more of the side-front panel and one more of the front panel (I didn't cut the front panel on the fold--thus splitting the front panel into two mirror pieces). I was trying to achieve the 7-gore petticoat look, only slimmer.
 
via Corsets and Crinolines UK
See how the front half of each petticoat above is constructed with one front panel, and two side front panels? I figured that the arrangement would be similar in the back. For the "front" panels in the back, I cut them along the selvedge in place of cutting them on the fold. This allowed me to omit a finicky skirt placket, because I will just have to fold and manipulate the selvedge edges. This also saves me time, because it's one less seam I don't have to flat-fell; the selvedge will never fray.

I sewed the seams with a flat-felled seam technique, because I want this petticoat to be strong and supportive for its Graduation Dress, and I wasn't about to risk any fraying seam mishaps. I was worried the flat-felled seams would be too time consuming and difficult to do with those curved upper edges, but it wasn't so bad. It took me probably 3 hours to flat-fell all the seams--about 30 minutes for each seam (including the ironing, folding, and pinking).

I was careful and prudent in stay-stitching around the top of the skirt to prevent the curved top edges from stretching out as I fitted the pleats of the skirt on the dress form. I used twill tape to make the waistband, as I wanted something super-durable that wouldn't stretch out or warp from being displayed for an extended period of time. Twill tape is also a period accurate material, and a nice little way to "cheat" in my opinion, when there is a bit of a time crunch.  The waistband closes in the back with a large, flat hook and eye. 


Neat flat felled seams! Though I might've made them inside out...oh well, they still serve their purpose.
Handsewn blind-stitched hem
I think this kind of waistband treatment came out really polished and sturdy.
Inside of the twill tape waistband.
"Placket" on the selvedge edge and hook and eye closure.
 

1910's White Lawn "Graduation" Dress

This dress is the smallest of the entire display. It also lacks a display card, so all that I know about it comes from the museum docent. I was told this white lawn dress was worn to a high school graduation. This gown, even for an adolescent, is incredibly tiny; it measures B 28", W 26", Hip 32".


This description correlates with the style of gown: these white cotton, batiste, or lawn dresses, often embroidered or decorated with lace or crochet, were typically worn in the warm summer months. This style of dress, known as a lingerie dress, were the ultimate of frilly Edwardian femininity. A frothy vision in white lace, this style of dress allowed a woman to escape some of the heavy layers worn under other garments. Worn to tea, lawn parties, picnics, and graduations, these dresses allowed women to keep cool and fashionable. Called lingerie dresses due to their resemblance of the fantastically lacy undergarments of the Edwardian period, they were very popular in their time.

These flounces cleverly accentuate a petite bust.
Do you see that? At the bottom of the photo...?
Perhaps the worst offender of this whole display!!! Dirty, ill-fitting, an downright ugly shoes!! Yard sales sell tons of shoes with vintage-esque shapes or colors...why choose this?!
Because of its unusually small measurements (I thought I was woefully under-endowed, but a 28" bust is incredible!) this dress is going to be displayed on a dress form carved down to the right measurements. This itty-bitty summer frock at one point was squeezed onto a modern mannequin--this caused (naturally) plenty of tears to an otherwise stable fabric. Unlike silks, cottons tend to last longer--they are more stable and resilient, and this is why often, a silk bodice or skirt will be in tatters while the cotton lining is strong and intact.

Poor and sloppy repair to a tear along the back button placket.
If you notice, the lace insertion has a clover pattern, possibly a nod to the Irish heritage of Kearny.
There must have been some insane pressure applied to the back of this dress, for it to have acquired all of these tears on an otherwise stable fabric.
This dress needed some proper undergarments. On the mannequin, it had a camisole and a long skirt slip, both of which were too modern, rather dirty, and didn't give the right shape to the dress. I made a proper petticoat which will be dual purpose: it will support the dress and give it the proper shape, and it will also protect the hem of the dress from sweeping up against the dirty floor.


I was able to coax the bendable arms and fingers to "hold" the dress, reducing the often static quality of dress forms.
After 3 attempts at carving down the dress form to this teeny proportions, I realized it was impossible to a degree because of the brackets holding in the arms--so I cut my losses and just pinned down the opening to help keep the dress secure. Note that all of the original buttons are missing. From here, you can also kind of see the S-curved shape from corsets of that era.
I think the bust of this dress has been stretched out from that awful mannequin, and that's why there's so much awkward fullness above the waist.
The petticoat really does help hold out the skirt of the dress and also helps highlight the lovely lace insertion!
The final display--I switched the position of these two garments, as the band uniform was becoming faded from the sun from that window. I am working on fixing those blinds to properly cover the window.

Overall, I think this display has exponentially improved, and the full glory of this lovely gown can now truly be admired!

Friday, July 12, 2013

1926 Lace Wedding Gown

"1926 Wedding Dress
donated by Kerri Peterson"

"1926 Wedding Dress
donated by Kerri Peterson"
My next piece to tackle is this 1926 wedding dress. It, along with the 1920's Beaded "Flapper" Dress and the 1910's Graduation Dress, is displayed on one of the newer fiberglass mannequins that were only purchased a few years ago. Of course, these mannequins have modern proportions, and just as on the other two dresses, the breasts of the mannequin were too big and caused various tears, shattering, and pulling on the bodice. This dress will be displayed on a dress form, which will be carved to the appropriate measurements. The dress measures: B 35", W 30", L 46". 

Small though they are, these tears (along with others throughout this area of the bodice) are the result of the dress being stretched too tighlty on a mannequin that is too big for the slender proportions of this ensemble.

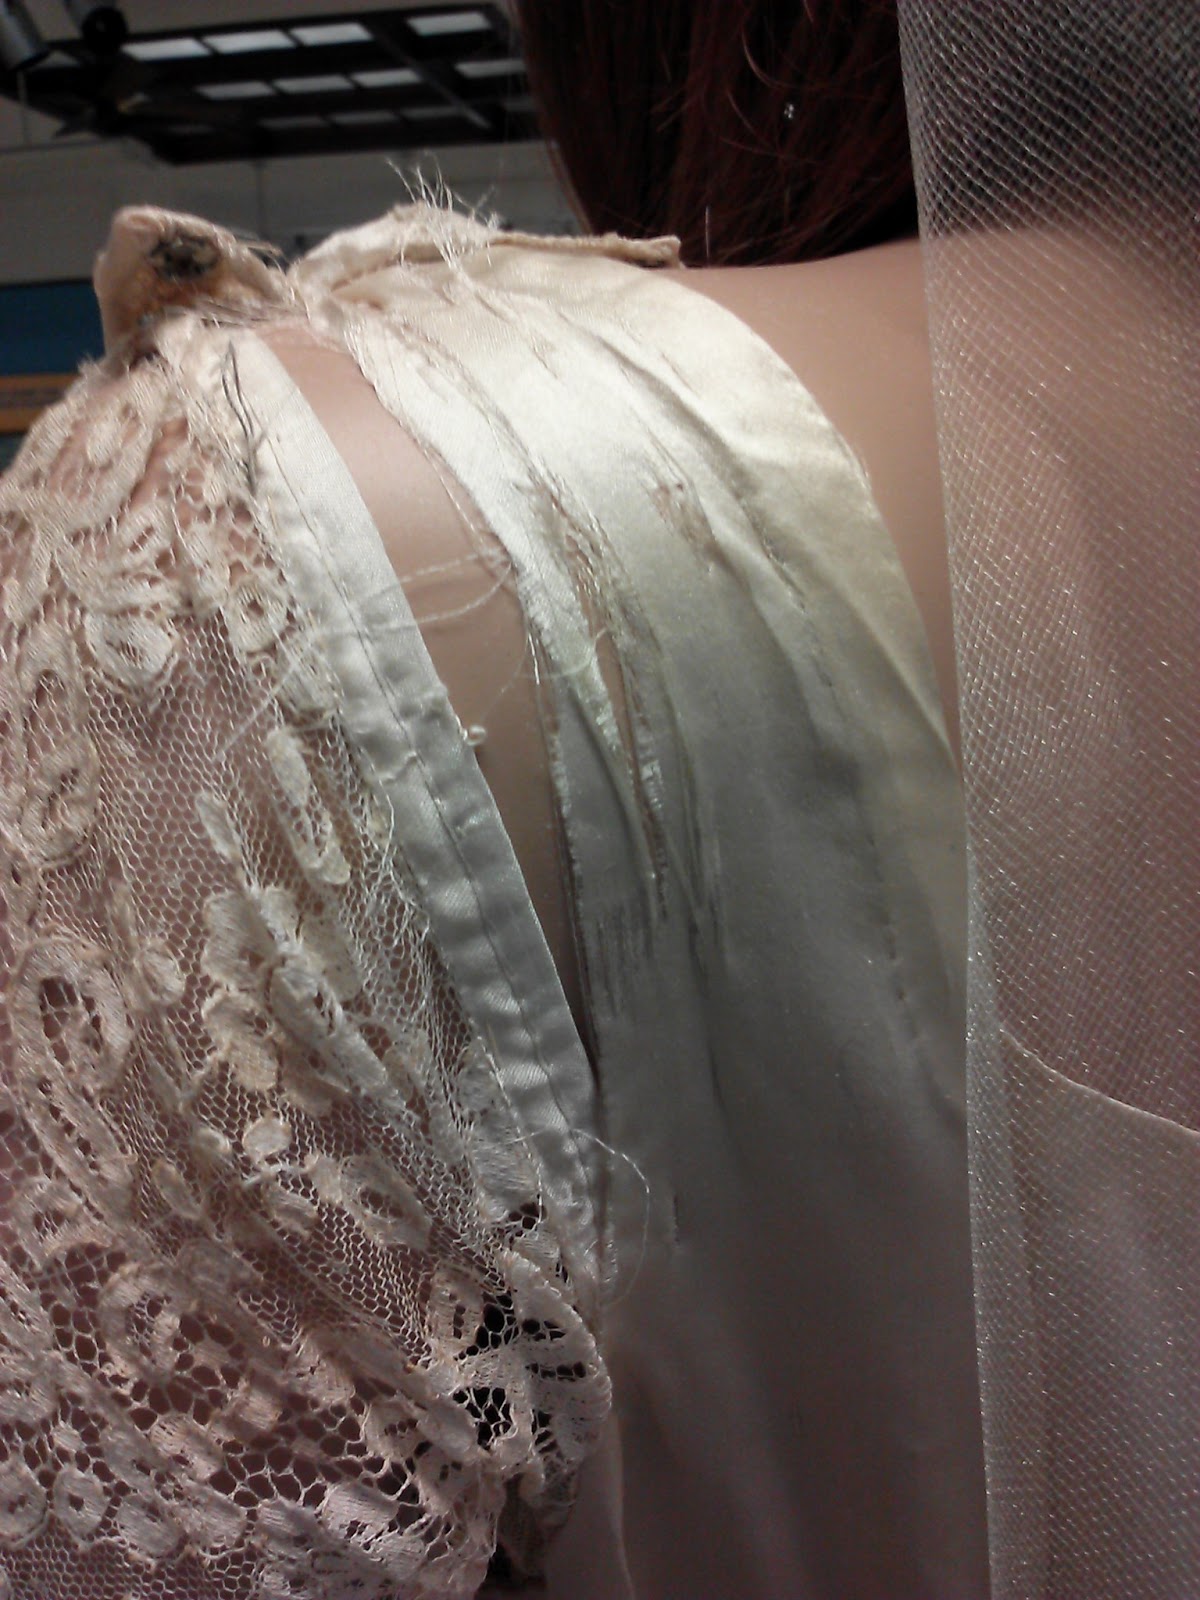
Sadly, whoever dressed this mannequin didn't realize that they caught half of the left strap of the dress between the mannequin and the arm...subsequently, that whole area of silk has become shattered and torn. It's the little things like this, that can be avoided with a little care, that really infuriate me!

This part of the silk strap had been caught between the mannequin and its arm. This is the most serious spot of damage on this garment.
 The outfit is comprised of a dress and a short lace over-bodice. The dress is made of ivory silk, with snaps at the left shoulder, down the left side to the waist, and along the center back placket. The waistband is made of vertically gathered ivory silk, and fastens at the back with two hooks. The skirt of the dress is covered in a layer of ivory lace. The sleeves of the dress are also made of the same lace. The ivory lace over-bodice is waist-length, and the bottom edge makes good use of the edge of the lace design. The lace over-bodice snaps closed along the left shoulder and has five snaps down the left side to the waist. The lace over-bodice is edge with ivory silk piping along the neckline and armscythes. 

The lace over-bodice open to release the stress from the heavily endowed mannequin. Also, I think it's been put on inside-out! This side is showing the underside of the decorative piping and all the hand-stitches holding it in place.
This is where the left shoulder has snaps to secure the dress. You can see all of the hand stitching along the neckline of the dress, too.
The dress, with a bit of a green glare from the lighting.
Pleats on the bodice, and the gathered waistband.

Slight shattering on the right shoulder.
The lace over-bodice. It's a bit dusty, but seems structurally sound!
Close-up of the piping. Whoever displayed this actually had it on inside out, with the piping detail facing in! D'oh!
How beautiful! Shockingly, this photograph wasn't displayed near the actual dress, which seems silly to me (I'll definitely work it into the display). Also, doesn't she look so very much like Lady Edith Crawley? It must just be her classic beauty.

The dress forms are made of styrofoam, so after I removed the neck cover and the arm brackets, I rolled up the jersey cover and began carving away at the bust to achieve the proper shape and measurements. After some carving, I smoothed out the bust with a pot-scrubber--the only sandpaper-y thing I could find in the utility room. It actually worked great at smoothing out the jagged cuts, and even helped me achieve some fine detailing!

Post-pot scrubber treatment (:
On the new dress form...I kinda like the dress better without the over-bodice.
Now the display looks super clean, polished, and professional, and the gown is allowed to be the focal point!

The bride is wearing a pearl necklace in her wedding portrait, so I tried to recreate the look with a necklace that was displayed on another wedding dress. I think it looks much more fitting here!
The necklace was broken in the back, so I had to do a bit of pinning to hold it in place...thank goodness for the pinnable dress forms! And look at that GORGEOUS clasp!